Welcome to my Home!

Thanks for stopping by! I'm so glad you're here and hope you take the time to look around. There's going to be a lot of before and afters, ideas, inspiration, tips, tutorials, and whatever else I come upon during my journey of home renovation and decoration. We'll see where it takes us!

Monday, August 29, 2011

School Supplies Cabinet {ReOrganize}


School has been in full swing for just about two weeks.  I'm feeling the pinch of my disorganization when homework time rolls around.  We moved in the beginning of the summer.  I'd say we did well getting things unpacked and diving into our home remodeling projects.  Not so good was the organization... especially of this little cabinet.  It sits in a fairly central spot in our home, just outside the kitchen near a dining area. And is collects EVERYTHING!  

For the last few years our school has sent home all the school supplies that the kids used throughout the school year.  This includes boxes of broken crayons, highlighters, half-dry glue sticks, and the list goes on.  Having three kids in elementary school has led us to quite a collection. This cabinet is the graveyard for all that and more.

This is more of what was in the cabinet before I started taking pictures.


  • Knowing what I wanted to use the cabinet for was the first step. Since this cabinet is so centrally located in our home, it's a great place to have odd things on hand.  Things like more batteries for the Wii Remote, lightbulbs, and activities for the toddler, as well as homework supplies.  It may not work for everyone, but this is what helps our family function.
  • Secondly I pulled everything out and sorted it into the usual KEEP, DONATE, TRASH piles.  
  • We organized items into like piles.  Sorted through the mountain of crayons and markers and stowed all the extras in storage bins down in the craft area in the basement.

Now we are left with just what we need.  Everyone can find what they need when it comes time to work on school projects and I can open the cabinet without creating an avalanche.  We have duplicates of marker and colored pencil jars since they are so popular.  Better to have two than to have to referee a fight.


I had a dozen or so mason jars I picked up at a garage sale.  They work perfect for holding markers and pencils.  Everything is labeled with chalk board tags so it's easy to find.


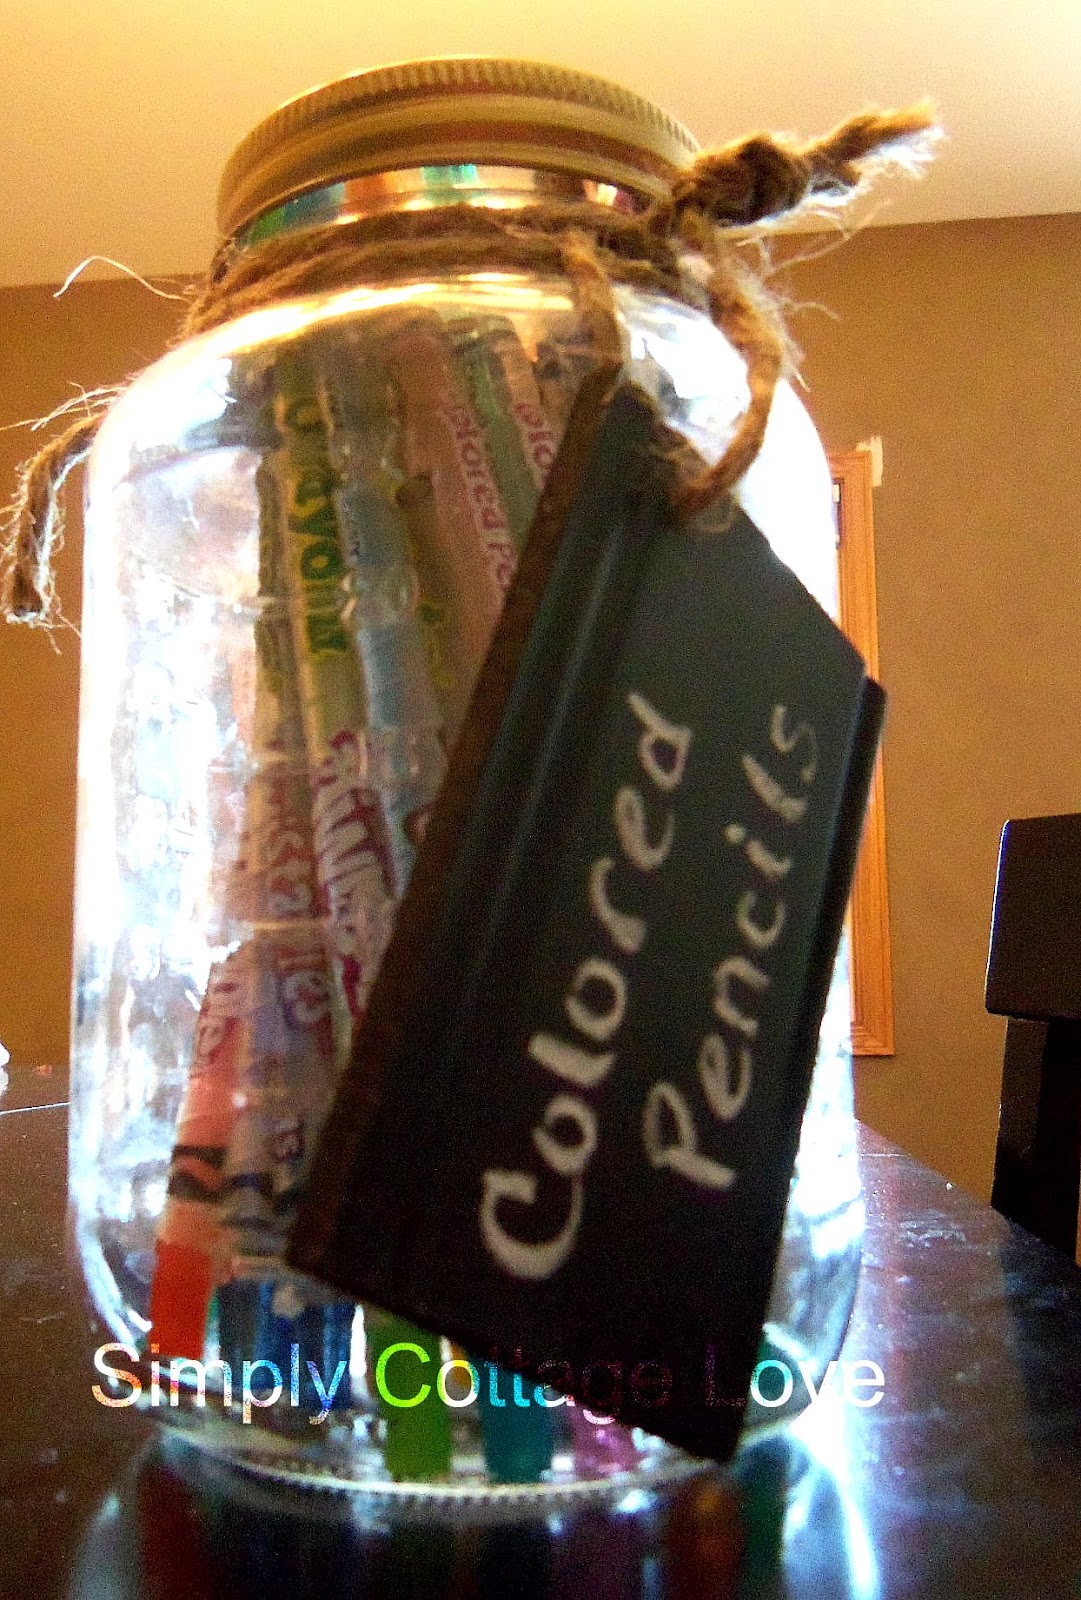
I love my chalk board tags made from bead board.  I just wrapped the neck of each jar with sisal twine and added the tag.  You can check out my Etsy Shop to find them : )


I picked up several of these baskets at a garage sale and they work great to hold the larger items like glue bottles, stickers, watercolors and flashcards.  


I ran out of cute storage on the bottom shelf.  But the see through containers with labels at least make it nice and clean looking.


Now I can't wait to paint this little guy.  The drab brown is bringing me down. I've had the shelf forever and have always meant to paint it, but never got around to it.  What would be cute? I'm leaning towards turquoise or something for a bright pop of color!

For now though I keep working on the kitchen!  


I'll be linking up the parties listed in my sidebar : )


Monday, August 22, 2011

I can get distracted sometimes... {Thrifty Finds}

I should be working on installing beadboard in my kitchen. What am I doing instead? Drooling over these new lights I found at Lowe's--- for $5 a piece!!


Yikes! I kinda loved them when I spotted them on the clearance table. And then I loved them even more when I saw the 75% off sticker.  Have you checked out your Lowe's for lighting?  They have great stuff and when you find it on clearance, that's all the better!


When we moved into this house we picked out the WORST two rooms and decided to tackle them first. First up- Master Bathroom, quickly followed by the kitchen. But somehow.... our Master Bedroom keeps ending up in the mix.

 We debated for weeks what color to paint the bathroom. We wanted a beach cottage feel. But do we go with greens? or blues? The debate went on and on. We even put a couple of patches of a seaside green up on the wall. I had picked the gallon up from the mistint table at Lowe's or Home Depot (I can't remember which). And then one day while perusing the Anthropologie website, Hubs and I both fell in love with a set of sheets.


 We ordered them, with promises that THIS will be our anniversary present to each other because there was no other way that we could ever agree to spend THAT much money on sheets. I was thankful when the arrived because FINALLY we would have some colors to work off of. But again... do we pick the pale blue? the medium blue? hey what about that coral color? Ugh. The debate continued. Until one day when we realized that the {mistint} seaside green MATCHED the minty green in the sheets. FATE had intervened! The decision was made.

So the bathroom was painted sea green and in the end we are both happy with it.  I know I keep promising the big Master Bath reveal... but I STILL can't find the perfect bathmats... and there is still some wall art to work on.  And I just want it perfect when I show it off : )

And now... when I am supposed to be focusing on the kitchen I bring home lamps for the Master Bedroom {head slap}
Yep, that's just a naked down comforter!  I'm still hoping and praying
 that Target gets the duvet cover I picked out back into stock!


Don't judge the nightstand... it has a paint job in it's future!
Maybe by the time I finish the kitchen I will have accumulated all the right accessories for the bedroom and all there will be left to do is paint!  I can dream? Right?

Now... on to installing that beadboard!

Sumo's Sweet Stuff

Saturday, August 20, 2011

Made some Momma Birds

Thanks to Larissa over at mmmcrafts I recently added a new pin to my Crafty Ideas board on Pinterest. She offers a free downloadable template of this-

Make a Momma Bird (or two)

Ah! So cute!  I didn't know where or when I would find the time to play around with this but I had to at least pin it.  So... when my poor mother in law had some minor surgery we thought it would be the perfect time to put the kids to work making her some cards.

We hauled out the scrap paper box, printed the easy template, and I got busy tracing.  Keep in mind I let the kids do all the cutting and gluing. They also had full creative license over the choice of paper... so ours differ a bit from Larissa's!  But the mother in law loved them and the kids had a great time!


My daughter wanted to add some ribbon embelishment
for "grass".

Even my sons got into making them!


We just let the kids use a Sharpie to add the eyes and beaks
to keep it simple : )

And here's her finished card.  

I wish I'd gotten a picture of all three completed cards.  It was very cute when the kids added hearts and stars to scene. I was so glad to find something that was easy to do, fun for the kids, and looked adorable when it was finished.  And best of all I didn't feel like pulling my hair out trying to complete this craft with four kids!

Linkin' it up here:
Join  us Saturdays at tatertotsandjello.com for the weekend wrap 
 up           party!
Weekend Bloggy Reading

Thursday, August 18, 2011

Fastest Way to Remove Wallpaper Border {DIY}

Usually when you start a project it takes longer than you expect. One thing leads to another and before you know it you've opened the proverbial can of worms. Once in a blue moon things go better than expected. This was one of those times.

Our new kitchen has many lovely features from the '80's. One of them being the wallpaper border.
Sheesh... what were they thinking??

The tools you'll need to remove your wall paper border:
A bent scraper, a spray bottle of water, a rag and Tiger Scoring Tool

... and your absolutely most important tool...
A hand held steamer
I don't care what you have to do- beg, borrow, steal... well, okay, don't STEAL it! But you get my drift.  It's worth putting out the word to everyone you know to find one to borrow for the afternoon.  A shout out to my MIL who was nice enough to lend us hers. Thank you!

So... once you get your tools out here's what you'll do-

  1. Take your tiger tool and score the border.  Go over each section four or five times.  Just be careful not to press too hard or you will make holes in your walls.
  2. Spray one section down with water so it can soak while you begin steaming.
  3. Take you steamer and shoot the steam at the border. 
  4. Begin peeling the border off.  Use the bent scraper to help it come off.  
  5. More than likely the border will come up in two sections- the thicker patterned part and a thin layer of paper glue underneath.
  6. Use a rag and water to rinse off any small pieces of paper and glue residue.
This method works so much better than the fabric softener trick.  It seriously took me half the time I thought it would.  From start to clean up- job complete in one nap time (about two hours).

Transformation Thursday


HouseofHepworths
Tip Junkie handmade projects

Monday, August 15, 2011

Paper Pennant Banner {Decorate}

Banners are all the rage now. I'm kinda in love with them. One word from the hubs that he was down with the idea was all it took for me to rush out and grab a stack of cutesy scrap book paper and start cutting away.

There are a bazillion tutorials out there on how to make great banners-holiday banners,chalk board banners, birthday cake bunting, and fabric banners.

Diary of a Quilter
The Design Confidential
Intimate Weddings
Peppermint Pinwheels Etsy Shop


I just went the easy route and grabbed some cutesy heavy duty scrappin' paper and modge podge.  I cut some templates of the two sizes of triangles that I wanted to use and got busy tracing and cutting.

I applied modge podge to the back side of the small triangle
 and centered it on top of the larger  triangle.
I then applied modge podge over the whole thing and firmly ran my
finger over the whole thing to get rid of any air bubbles.


Here are all the triangle drying.  I added a second coat of modge
podge to each piece.

I took a small hole punch and punched a hole in the two topmost
corners of each pennant and ran sisal twine
over and under through each piece.


A quick afternoon project to add a little more color to the bathroom.

Linking up to some fabulous parties:


Sumo's Sweet Stuff

Tip Junkie handmade projects

Friday, August 12, 2011

Beach Cottage Crate {Thrifty Finds}

Here we are a week later and I am just finishing up some projects from my garage sale goodies last weekend.  I had planned on building a cubby style shelf for our master bathroom to go over the jacuzzi tub.  I was going to use this to hold towels and such since we had taken down the chrome towel rack.

I sorta kept putting off the project since I knew it would be a bit of a time investment for me.  I'm not the most experience carpenter and the process usually involves a lot of frustration, learning, and calls to my dad.  So... when I stumbled onto this little gem I had a lightbulb moment. The crate had the look that would work with our beach cottage/boat house feel master bath.

Yep, spider webs and lots of dust!

Once I got it home I realized one corner was damaged.
A little Gorilla Glue, wood putty, and joint compound fixed
it right up.  Sanding and paint.. you'd never know!


I used a sampler of returned paint I picked up from the HD
for .50 cents.


Here she is cleaned up with a coat of gray.


And now for a top coat of white.  The idea is that I will
sand it down so that I can see the gray through the white.


I drew on my letters.  The first night we met hubby and I were at
this lake.  Yes... we were high school sweethearts and this was the
cool place to hang out!


Here's the letters all painted.  Yep, you guessed it 112090 is
the date we my sweets and I met. We're a little sappy... you'll
just have to deal with it!


And here it is after I sanded it down.
You know when you think I project is going to go a certain way and it just doesn't?  Well this was one of those times!  I was so sure that I'd be able to just sand it down and get nice soft hints of gray.  But when I began to sand I would go straight through to the dark brown.  yuck.  No gray to be seen.  There wasn't much I could do at this point though... so I just went with it.  When you are working with found items it's best to be flexible!


And here it is attached under my window by the jacuzzi.   


Amazing what a bit of paint can do!
I love it now and am so happy I found something that not only was cheaper than buying my own supplies to build a shelf... but it saved me loads of time as well!  Total cost for this project: 
Crate- $1.00
gray paint- $.50
white paint- already owned
Total- $1.50

Linking up at these fun parties:
Somewhat Simple
Tidy Mom

Transformation Thursday
Join  us Saturdays at tatertotsandjello.com for the weekend wrap 
 up           party!


Related Posts Plugin for WordPress, Blogger...