We've been slowly but surely making progress on the kitchen. This week we had our new countertops installed~ which meant our drop in sink had to come out! If you are looking to do that- go here. I got that done, surprisingly with no problem. The old countertop went out the curb (hallelujah!!), and without too many gliches the new countertop was installed by the guys from Lowe's. Now I had about an hour and a half until the kids walked back in the door from school. Twenty-four hours without water or a sink in my kitchen was enough for me! I guess I'm spoiled, but I was under the gun to get this sink back in- and fast! So, here we go-
Gather your tools~ wrench, screwdrivers, garbage disposal key, plumbers tape, and silicone sealant

Forgive me for the lack of initial pictures I got excited and started installing without getting out my camera. The first step will be to run a bead of clear silicone around the edge of your countertop where the sink will sit. Find a helper (thanks hubby!) to help you lift the sink carefully into the drop-in spot. You'll probably have some silicone squeeze out the sides of the top of the sink. Quickly wipe these away, but don't get too picky about it because you will soon be putting in the clamps and this will cause more to squeeze out. The main goal here is to make sure you have your sink straight and centered.

Now, lay out your clamps that either come with your new sink or came off your old sink.

Using your screwdriver, tighten the clamps under your sink.

Now is the time when you will go back with a rag and wipe away all the excess silicone sealant. Mineral spirits will help clean this up too.
Whenever you uninstall and then reinstall plumbing parts, always use new plumbers tape. This will insure that you will have a water tight seal.

Screw the plastic nut back onto the sink for the non-garbage disposal side of the sink.

Using your wrench attach the water supply hoses to the water pipes. Make sure that the cold goes to the right and the hot goes to the left. Don't forget to wrap the pipes with new plumbers tape!

Okay, this part gets tricky by yourself. You'll want to lift the garbage disposal up so that the ring can be slid back onto the neck of the drain (or whatever that's called). On mine you had to line up these grooves on the ring of the disposal to slide onto the tabs sticking out of the hardware on the drain.

Using your garbage disposal key, tighten the ring onto the drain tabs.

Wrap the screw threads with plumbers tape again and then tighten the nut on the disposal drain pipe.

This is the tube that connects your dishwasher to your disposal. It took me a couple of tries, but you'll want to make sure this is pushed on as tight as possible. Loosen the screws to make sure you can get the connection tight.

Now tighten these screws.

Turn your water back on and let it run for a while. Keep check on all the connections you just made to make sure there is no leaking.

So... here we go! New contertops and the sink is reinstalled! Yeah! All before the kids came home from school!
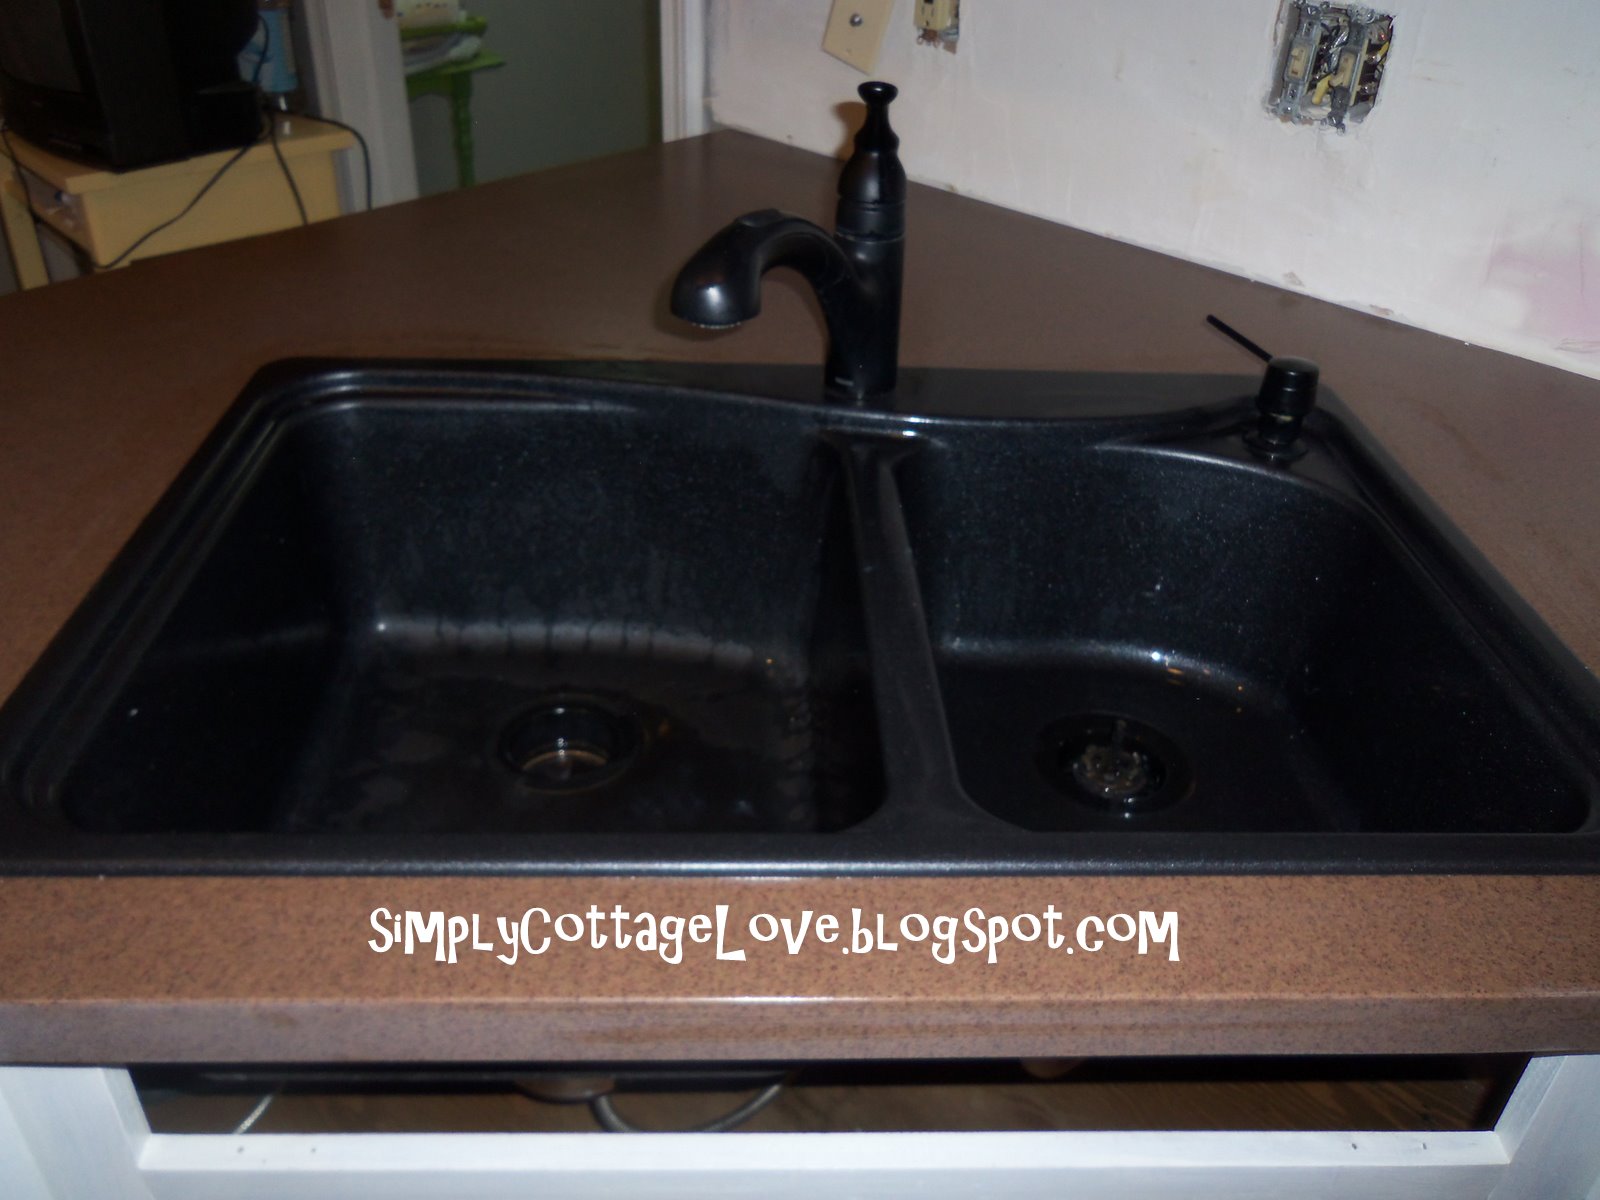
We chose Spiced Java by LG- a solid surface material (like Corian)

And in case you didn't remember the wonderfulness of my prior counter top (yuck!)... I'm loving the improvement!

We're still working on getting all the paint and hardware done on the cabinets. And obviously the floor is slated for a remake. But it's coming along!


Home Stories A2Z
I have always hired this part out, especially with a disposal. Thanks for the tutorial - I'll try it myself next time. Thanks!
ReplyDeleteOh my gosh! You rock girlfriend! I would never have attempted that myself! Great tutorial!
ReplyDeleteGood for you for doing this yourself! My husband goes a little overboard on the plumbers putty - inside, outside and everywhere! Thanks so much for sharing your tutorial at The Creative Spark. Go girl power!
ReplyDeleteJenn :)
Oh my goodness that is amazing that you did that on your own and that you even posted about it on your blog! Talk about being able to do it all!!! AMAZING! :o) thanks so much for linking up--this is something I will for sure be keeping in mind!
ReplyDeleteJaime from crafty scrappy happy
wow! what a dramatic difference between the two! you're one handy lady!
ReplyDeleteNice, Thanks for posting
ReplyDeleteBest garbage disposals
Thanks for taking the time to discuss this, I feel strongly about it and love learning more on this topic. If possible, as you gain expertise, would you mind updating your blog with extra information? It is extremely helpful for me. here
ReplyDeleteThank you for the update, very nice site.. here
ReplyDelete