Welcome to my Home!

Thanks for stopping by! I'm so glad you're here and hope you take the time to look around. There's going to be a lot of before and afters, ideas, inspiration, tips, tutorials, and whatever else I come upon during my journey of home renovation and decoration. We'll see where it takes us!

Showing posts with label Kitchen Makeover. Show all posts

Monday, October 3, 2011

How To Install a Sink- and the New Countertops!! {DIY}

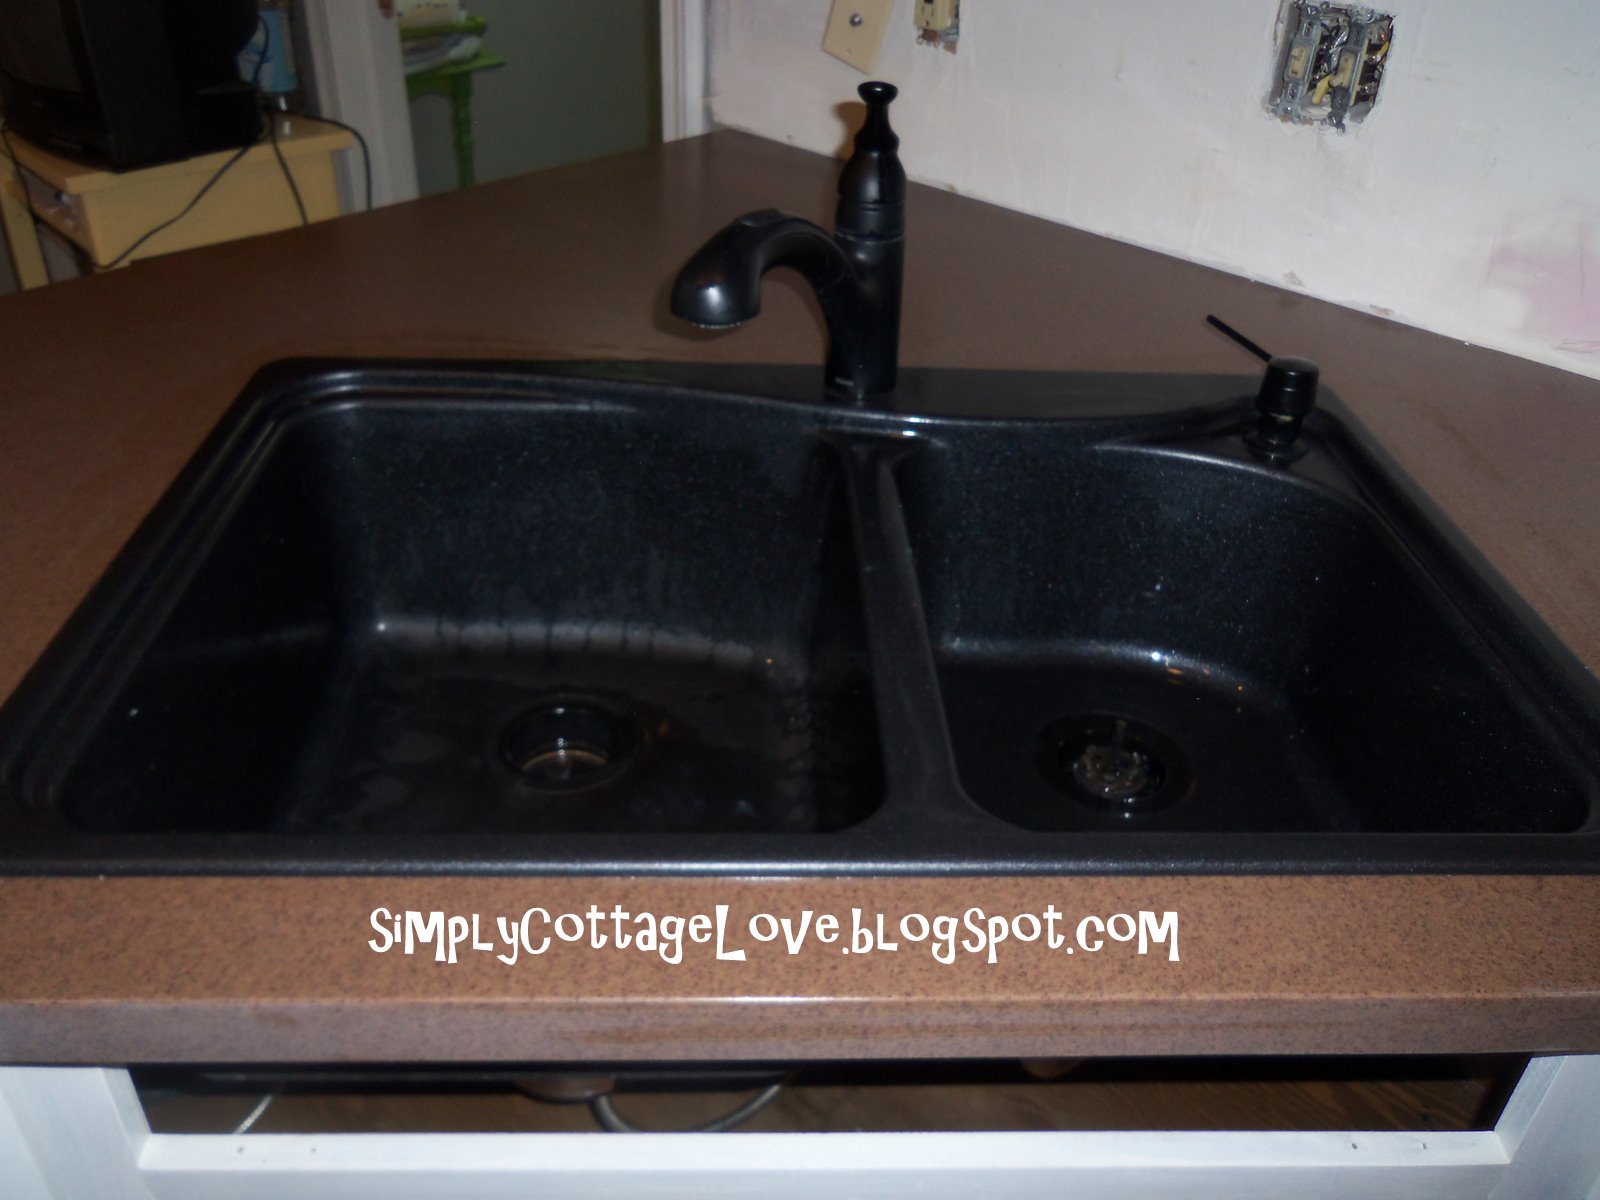
We've been slowly but surely making progress on the kitchen.  This week we had our new countertops installed~ which meant our drop in sink had to come out!  If you are looking to do that- go here.  I got that done, surprisingly with no problem.  The old countertop went out the curb (hallelujah!!), and without too many gliches the new countertop was installed by the guys from Lowe's.  Now I had about an hour and a half until the kids walked back in the door from school.  Twenty-four hours without water or a sink in my kitchen was enough for me! I guess I'm spoiled, but I was under the gun to get this sink back in- and fast!  So, here we go-

Gather your tools~ wrench, screwdrivers, garbage disposal key, plumbers tape, and silicone sealant


Forgive me for the lack of initial pictures I got excited and started installing without getting out my camera.  The first step will be to run a bead of clear silicone around the edge of your countertop where the sink will sit. Find a helper (thanks hubby!) to help you lift the sink carefully into the drop-in spot.  You'll probably have some silicone squeeze out the sides of the top of the sink.  Quickly wipe these away, but don't get too picky about it because you will soon be putting in the clamps and this will cause more to squeeze out.  The main goal here is to make sure you have your sink straight and centered.


  Now, lay out your clamps that either come with your new sink or came off your old sink.

Using your screwdriver, tighten the clamps under your sink.  
Now is the time when you will go back with a rag and wipe away all the excess silicone sealant.  Mineral spirits will help clean this up too.

Whenever you uninstall and then reinstall plumbing parts, always use new plumbers tape.  This will insure that you will have a water tight seal.

Screw the plastic nut back onto the sink for the non-garbage disposal side of the sink.

Using your wrench attach the water supply hoses to the water pipes.  Make sure that the cold goes to the right and the hot goes to the left.  Don't forget to wrap the pipes with new plumbers tape! 

Okay, this part gets tricky by yourself.  You'll want to lift the garbage disposal up so that the ring can be slid back onto the neck of the drain (or whatever that's called).  On mine you had to line up these grooves on the ring of the disposal to slide onto the tabs sticking out of the hardware on the drain.

Using your garbage disposal key, tighten the ring onto the drain tabs.  

Wrap the screw threads with plumbers tape again and then tighten the nut on the disposal drain pipe.

This is the tube that connects your dishwasher to your disposal.  It took me a couple of tries, but you'll want to make sure this is pushed on as tight as possible.  Loosen the screws to make sure you can get the connection tight.

Now tighten these screws.

Turn your water back on and let it run for a while.  Keep check on all the connections you just made to make sure there is no leaking. 

So... here we go! New contertops and the sink is reinstalled! Yeah! All before the kids came home from school!
We chose Spiced Java by LG- a solid surface material (like Corian)

And in case you didn't remember the wonderfulness of my prior counter top (yuck!)... I'm loving the improvement!

We're still working on getting all the paint and hardware done on the cabinets.  And obviously the floor is slated for a remake.  But it's coming along!

Tip Junkie handmade projects
Home Stories A2Z

Wednesday, September 28, 2011

Removing your Sink {DIY}

 Within 24 hours I will have a new countertop, for which, I can't tell you how excited I am!  So... to avoid paying the installers $800 we will remove the sink and old countertop ourselves.

 Here's the step by step if you ever find yourself in the position of pulling out your sink.
(I warn you... there are no pretty pictures here!)

First things first: gather your tools.  Pliers, a flat head and phillips screwdriver or driver attachments, garbage disposal key, utility knife, and small pry bar.  The garbage disposal key should be near your garbage disposal or wherever you might keep your important manuals.  Ours was in a drawer next to the sink.  It's a good idea to actually use some gorilla or duct tape and keep it affixed to the disposal.  

 Clear out the underneath of your sink cabinet as well as the top of your sink area.  No need to remove cabinet doors, mine are just off because we are in the process of painting them. Unplug or shut of the power to the garbage disposal.


Find your water shut off valves under the sink.  There should be a hot and a cold knob. Turn clockwise (righty tighty) to stop water flow to faucet.

Turn on faucet to verify that the water is really off.

Using your pliers disconnect the water supply line from the water pipe. 

Unscrew the plasic ring to disconnect the drain pipe from the garbage disposal.

Using a flat head screw driver loosen the screws holding the clamps for the connection to the dishwasher.  Remove this tube from the garbage disposal. {ewww!}

Using the garbage disposal key, place it into the horizontal hole and give a strong pull. Be sure to support the disposal with your other hand as will simply fall out of the support ring.  Set the disposal in the bottom of the cabinet until you are ready to reinstall.

Loosen the plastic ring to disconnect the drain tube from the "non-disposal" side of your sink.

Using a utility knife cut the silicone adhesive that is adhering the sink to the countertop.

Most sinks have clamps holding them tight to the countertop.  Locate these clamps, loosen the screws and remove the clamps.  My double sided sink had six clamps.

I was by myself while removing the sink so I found it helpful to lay inside the cabinet and push upwards on the bottom of the sink to pop it loose from the countertop.  You can also use a crow bar to help loosen from above. Once it popped loose I was able to (stand up) grab hold of the faucet and carefully lift the sink out of the hole.  Place the sink on an old towel until you are ready to reinstall (if that is what you plan to do).  Otherwise consider dropping it off at your local ReStore for someone else to use.  I also noticed that my sink had a recycle symbol on the bottom noting that it was safe to recycle.  Never would've thought of that.  

Here we go! Ready to remove the old countertop.  Tommorow night I'll be reinstalling the sink : )

Can't wait to see my kitchen transform.  The cabinets are coming along, new flooring in the future, and countertops tomorrow!

Ready to Reinstall?? Go here for the DIY!

Friday, September 23, 2011

Learning to Tile at the Do-It-Herself Workshops

With the kitchen remodel we quickly realized that it was going to be necessary to retile the backsplash.  I won't torture you with more awful pictures of the tile our home came with (unless you are really curious!).  Of course we don't have a clue when it comes to tiling.  Up til now my solution has simply to cover up the tiles I don't like (that will have to be a future post!).

 Last night I took advantage of series of classes by Home Depot called the Do-It-Herself Workshop.  They offer a variety of classes such as Cabinets, Flooring, Garden, Room Inspiration, Martha Stewart Living, Bathrooms, buying countertops, installing crown moulding, and Tiling.
photo courtesy of Home Depot
Honestly the timing couldn't be more perfect.  I have the old backsplash ripped off (OK... there might be just a couple of gaping holes a little damage that still needs to be repaired) and the new countertop is going in this week {squeal}. I can't wait!

I wasn't sure what to expect walking in to it, but it there were more people than I expected- about 20 women and two men.  The instructor wasn't up to par I would say.  I found myself wishing that his "assistants" would just step in and teach the class since they seemed to be much more knowledgable about the actual process of laying tile.

I got plenty of time to berate them with questions, as did the others in the class that were interested in their specific project (bathrooms, floors, backsplash).  Overall I did walk out of the class feeling more comfortable working with mastic and grout.  I know what types of materials I will need to install tile, the different types of tiles available and what type of grout to use with each.  I also got some hands on time cutting tile and grouting.

I was pretty excited to hear about a "newer" product that is available, called Simple Mat.

Rumor has it that this sweet stuff can take the place of the mastic, or adhesive.  This $20 box covers about 100 square feet, and although it is more expensive than putting the adhesive down it's not messy at all and seems like it would be a lot easier.  Basically you peel and stick these adhesive sheets to your backsplash (or bathroom wall), pop your tiles on and then grout away.  I'm super excited to give these a try!

After class I snuck across the street to Lowe's to snap some pictures of the tile backsplash I want to install.  So far it's the only one that I have found that I think I'm comfortable with.  There are a lot of options out there but I'm' having a tough time coming up with the best fit for our "cottage" kitchen.  


This style uses the most affordable 4"x4" white tiles.  Works for me!  
See how the tiles are staggered on the upper part? I like that! 


My only change might be to use glass tiles as the accent strips.  I'll look for a java color that will work with my countertop.  

All in all, the class was pretty good... but I still feel like I have a long way to go.  The most intimidating part now is laying out the pattern.  

For now though I will try and get those cabinets finished before the countertop comes (Wednesday!!) .

Thursday, September 1, 2011

Kitchen Update


Well, for most of August we've been working on the kitchen.  Bead board installation went smoother than I thought (future post coming on that). 


These are some rough pictures before I prepped the trim for painting.  There were a few surprises along the way, like using more trim in more places than I realized.   I also learned how to use the table saw without chopping off my fingers, which is a good thing!  And I had so much fun using my new nail gun with the air compressor (thanks Dad!). Priming is in full swing and I'm so close to getting some great color in the kitchen- I can't contain myself!

I couldn't help it, when I went to Menards to pick up more primer and trim paint... I had to get the wall color.  What better thing to do while you are waiting for primer to dry than to get some color on the walls!

As always I had last minute deliberations with the paint color.  I came so close to getting the turquoise color that matches our Fiesta Ware to put on the walls.  A gallon of it actually came home with me.


But I think I'm going to go the safe route and use this gorgeous buttercream (Dutch Boy Honey Bear) on the walls.  I think it will really warm up the kitchen (and make the hubs happy!).


I have to say I love the Dutch Boy Color Visualizer.  Have you ever seen this program?  This program was available at my local Menards.  I was able to plug my exact colors in along with a guess on the new countertop color (Spiced Java).

 Once I saw the colors together in a sample kitchen I was sold on the Honey Bear/Lambswool White combo.  Apparently you can purchase the CD from  Dutch Boy and even download a picture of your room that you are working on.  Cyndy, over at her fabulous blog, The Exchange, just posted about using the new brochures that were created by Sherwin-Williams and HGTV.  They have some pretty inspirational pictures and unique color combos.  What's your favorite way to pick the color of your room?

Thursday, August 18, 2011

Fastest Way to Remove Wallpaper Border {DIY}

Usually when you start a project it takes longer than you expect. One thing leads to another and before you know it you've opened the proverbial can of worms. Once in a blue moon things go better than expected. This was one of those times.

Our new kitchen has many lovely features from the '80's. One of them being the wallpaper border.
Sheesh... what were they thinking??

The tools you'll need to remove your wall paper border:
A bent scraper, a spray bottle of water, a rag and Tiger Scoring Tool

... and your absolutely most important tool...
A hand held steamer
I don't care what you have to do- beg, borrow, steal... well, okay, don't STEAL it! But you get my drift.  It's worth putting out the word to everyone you know to find one to borrow for the afternoon.  A shout out to my MIL who was nice enough to lend us hers. Thank you!

So... once you get your tools out here's what you'll do-

  1. Take your tiger tool and score the border.  Go over each section four or five times.  Just be careful not to press too hard or you will make holes in your walls.
  2. Spray one section down with water so it can soak while you begin steaming.
  3. Take you steamer and shoot the steam at the border. 
  4. Begin peeling the border off.  Use the bent scraper to help it come off.  
  5. More than likely the border will come up in two sections- the thicker patterned part and a thin layer of paper glue underneath.
  6. Use a rag and water to rinse off any small pieces of paper and glue residue.
This method works so much better than the fabric softener trick.  It seriously took me half the time I thought it would.  From start to clean up- job complete in one nap time (about two hours).

Transformation Thursday


HouseofHepworths
Tip Junkie handmade projects

Tuesday, August 9, 2011

A Sad Goodbye

We said a sad goodbye to my parents today.  It was so great to spend some time with them and for them to see the grandkids.  We spent much of our free time fooling around with several projects and creating a timeline for the kitchen renovation.

The kitchen bench seating was built and installed.
It's not so pretty now, but trim work will be done in a bit.

This is looking down inside the bench.
See where the register comes out of  the floor?
We added tubing to re-route the air.

Here you can see where the air
will come out the side of the bench so that
it won't be trapped inside.


Whee! Brand spankin' new garbage roll out!
Thanks Dad!


These are the new cabinets that replaced the desk area.
Yes, they are ugly now, but again... painting will be done.


And here's my new bench seating fabric.
This went home with  Mom so that she could sew it on a decent machine.
Maybe one day I'll get a machine that works!


We had so much fun working together and hanging with the kids.  I just wish they lived closer!


Related Posts Plugin for WordPress, Blogger...